Serving
Once a model has been successfully deployed (as described in the Model Hub section), it can start receiving data for generating predictions.
The platform provides two ways to send data to the deployed model to generate an output:
- Using API Requests – As outlined in the Model Hub section, you can send data directly to the model’s unique API endpoint.
- Using the Serving Module – An integrated platform feature that supports:
- Online Serving – For sending and testing model with one single individual datapoint using the platform
- Batch Serving – For processing and generating predictions from large datasets on a scheduled basis.
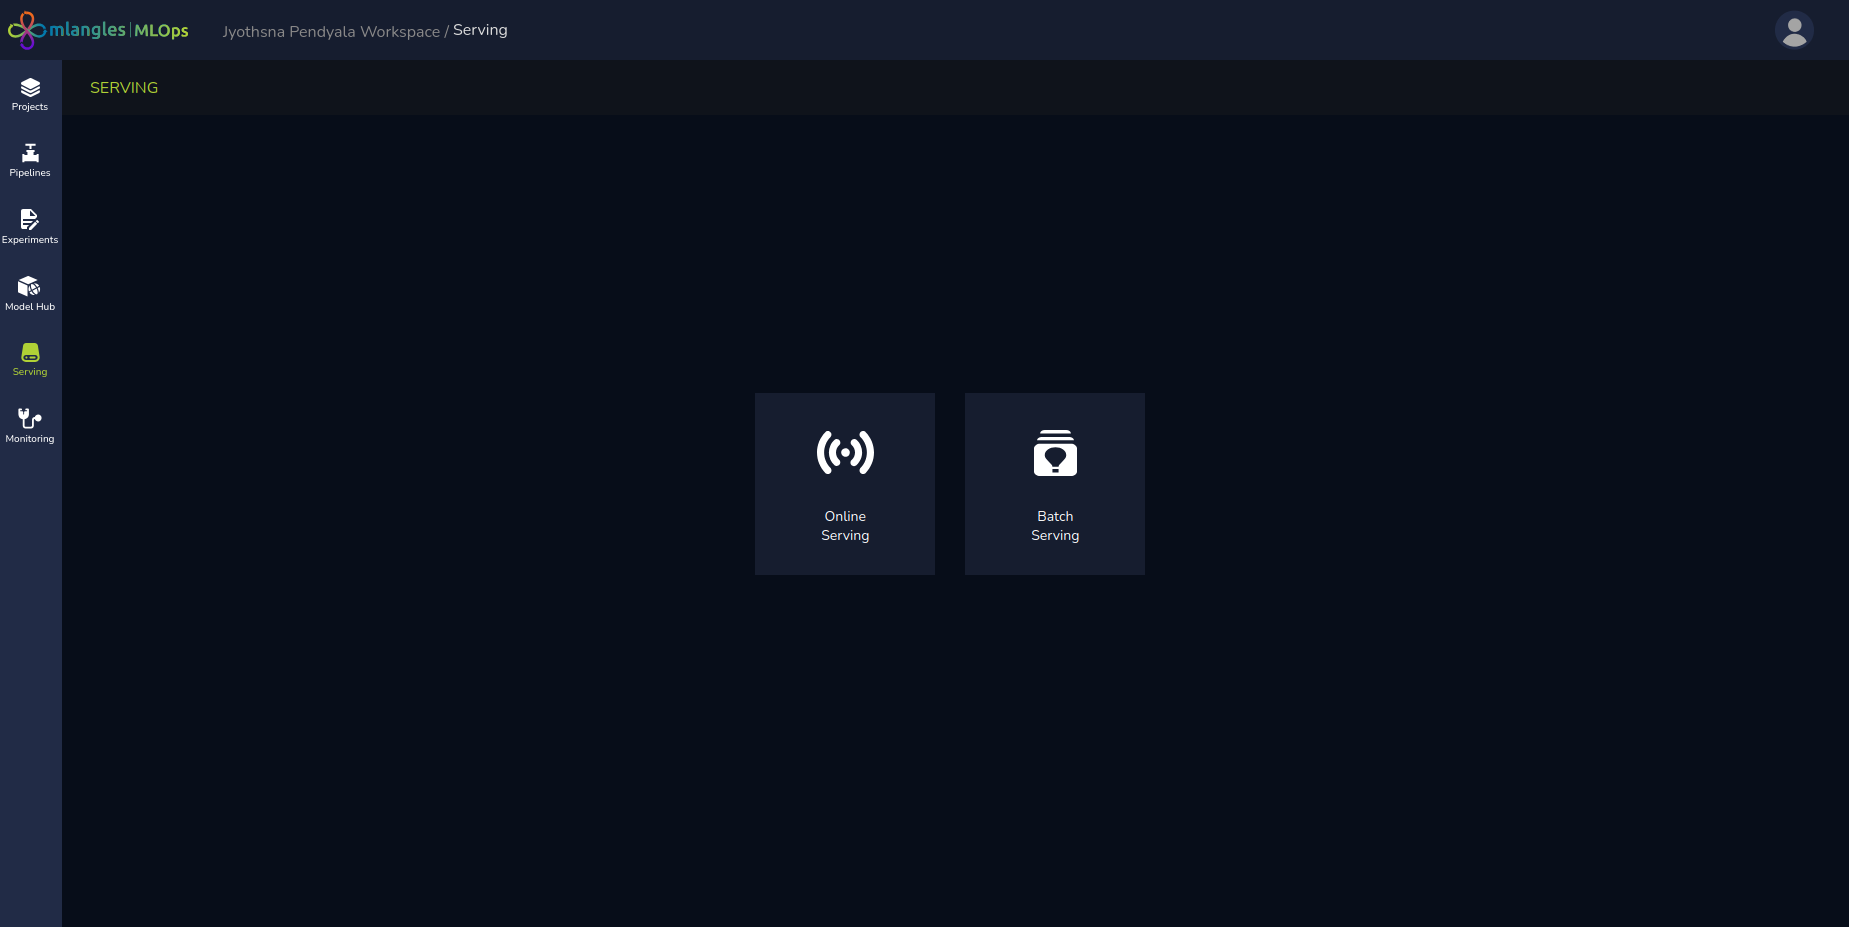
Figure 19 – Serving homepage
Online Serving
The Online Serving feature allows users to send a single data point to a deployed model and receive an immediate prediction.
Process:
- Select the Project that contains the deployed model.
- Choose the specific Deployed Model.
- Enter the required input data in the prompted fields.
- Click Submit to send the data to the model.
- The model processes the input and returns a prediction, which is displayed directly on the platform.
Best Practice:
- This feature is recommended for sanity checks and quick validation, ensuring that the model is responding appropriately to new, unseen data points before it is used at scale.
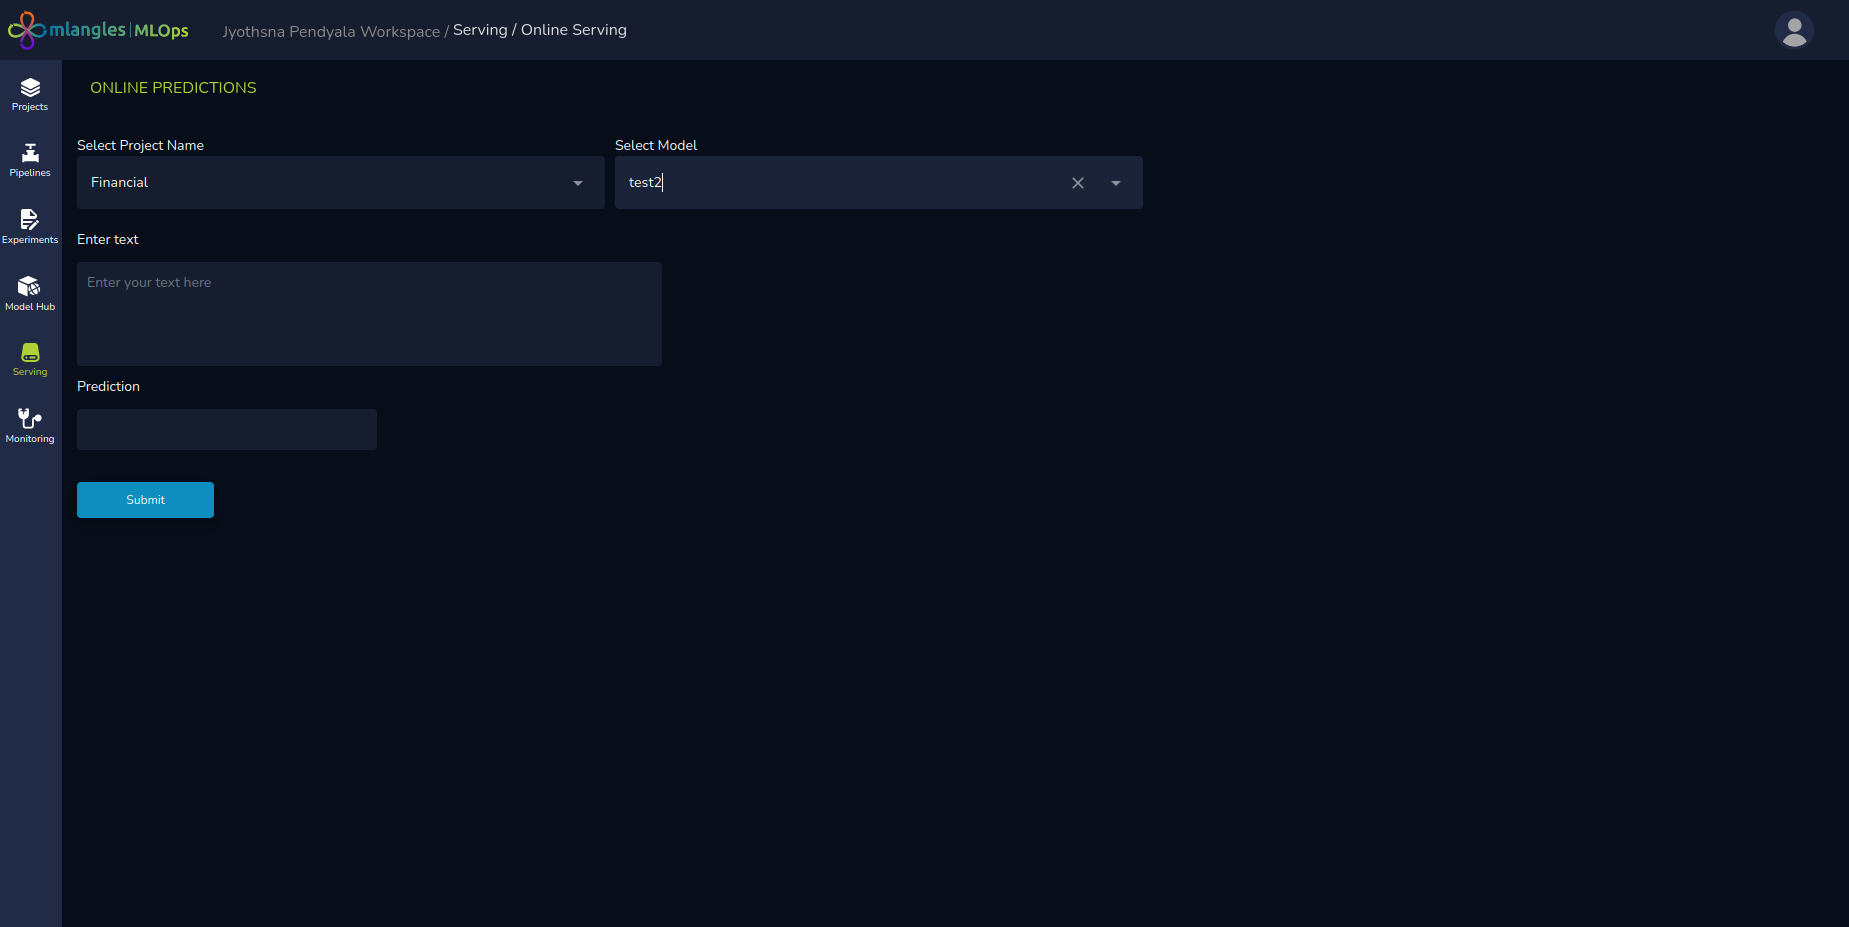
Figure 20 – Online Serving
Batch Serving
Batch Serving is designed for large-scale, production-grade predictions, where substantial datasets need to be processed periodically (e.g., daily, weekly, or monthly). This allows the user to pass 10,000 rows of data in a single pass and get the predictions for all 10,000 data points and does not require the user to call the model individually for each data point.
Batch Serving Homepage
When you access the Batch Serving section, you are presented with a list of active batch jobs, including:
- Job Name
- Project Name
- Created By (user who set up the job)
- Next Scheduled Run Date
This allows for quick tracking of upcoming prediction runs.

Figure 21 – Batch Serving homepage
Creating a New Batch Job
To create a new batch prediction job:
- Click New Job.
- Fill in the following details:
- Job Name – A unique identifier for the batch prediction job.
- Project – The project that contains the relevant deployed model that we want to use.
- Data Source – The storage location where the raw data used for generating predictions will be uploaded.
- Pipeline – The pipeline originally used for training the model.
- Pipeline Steps (Optional) – If the raw data needs to be transformed based on the training pipeline before any predictions can be made, then the user can select the necessary pipeline steps that would accomplish this.
- Model – The deployed model that will be used to generate predictions.
- Instance – The compute instance that will handle the prediction workload.
- Schedule Time – The frequency at which the job should run (e.g., once, daily, weekly). This implies that the data is passed to the model with this selected frequency.
Once configured, the platform automatically executes the job at the scheduled time, processes the dataset, and stores the prediction output for review and downstream use.

Figure 22 – Creating a New Batch serving Job